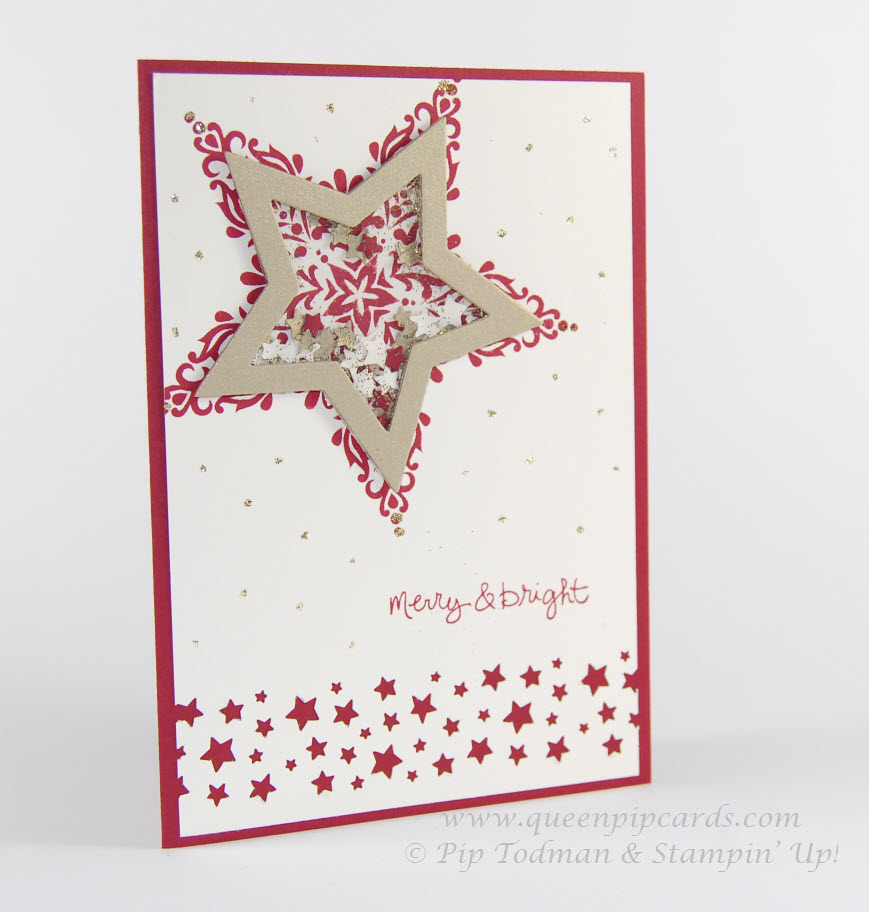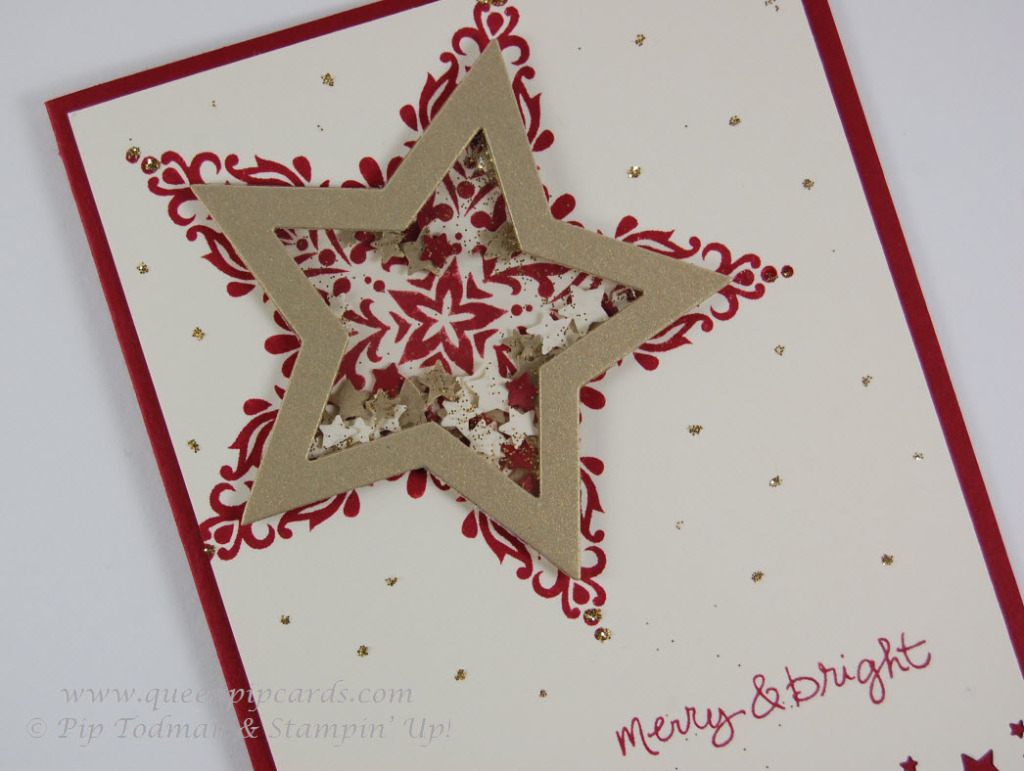
Day 5 of my Christmas Countdown already – where is it going! I hope you’re keeping up and enjoying my little taster classes every day. Today I’m sharing a fabulous Christmas Shaker Card using the gorgeous Bright and Beautiful stamp set – this is so elegant, but also not just for Christmas – although today’s card most definitely is!

This is a shaker card and here are the directions … it takes a while and is a bit fiddly, so I’d put this in the New Technique step of Card Making Know How – but then again, if you don’t try, you don’t learn – so give it a go! And if you want even more options and help with these techniques, why not join my membership today?
Christmas Shaker Card Directions:
- Stamp the largest star onto Very Vanilla cardstock that’s cut to 14.4 cm x 10 cm, just stamping slightly off the edge on the left using Cherry Cobbler ink.
- Next cut out a Star in Brushed Gold cardstock by running the cardstock through the Big Shot with 2 of the Star Framelits – one inside the other – at the same time. You’ll get a star (for use on another project) and a star shaped frame.
- Run some Window Sheet through the Big Shot with the same size Star Framelit you used as the outer Star. Adhere this to the back of your star frame.
- Next cut up a lot of dimensionals into thin strips & attach them to the underside of your star frame (the same side the acetate is on). You need to make sure there are no gaps – you need it sticky all the way around the star shape.
- Leave that to one side for now.
- Using the Confetti Punch punch the short bottom edge of the Very Vanilla cardstock (keep the stars).
- Punch some of your leftover Brushed Gold cardstock (keep the stars).
- Punch once some Cherry Cobbler cardstock(keep the stars).
- Stick down your Very Vanilla cardstock onto your card base (Cherry Cobbler A5 folded in half).
- Now mix all of those stars together in your hand, add some Gold Glitter & put a pinch in the centre of the stamped star.
- Remove the backing from the Dimensionals on your star frame & position the star over the stamped image.
- Stamp the sentiment, add some Gold Glitter using a Two Way Glue Pen to get tiny snow like dots & voila – your shaker card is done!

Want to Give It A Try?
Pretty eh? If you want to make this at home, then please find below the items you’ll need. I hope you liked this more technical Christmas Shaker card and will tune in again tomorrow for some more Christmas crafting fun.
Thanks for stopping by, take care & happy stamping, Pip x

0 Comments