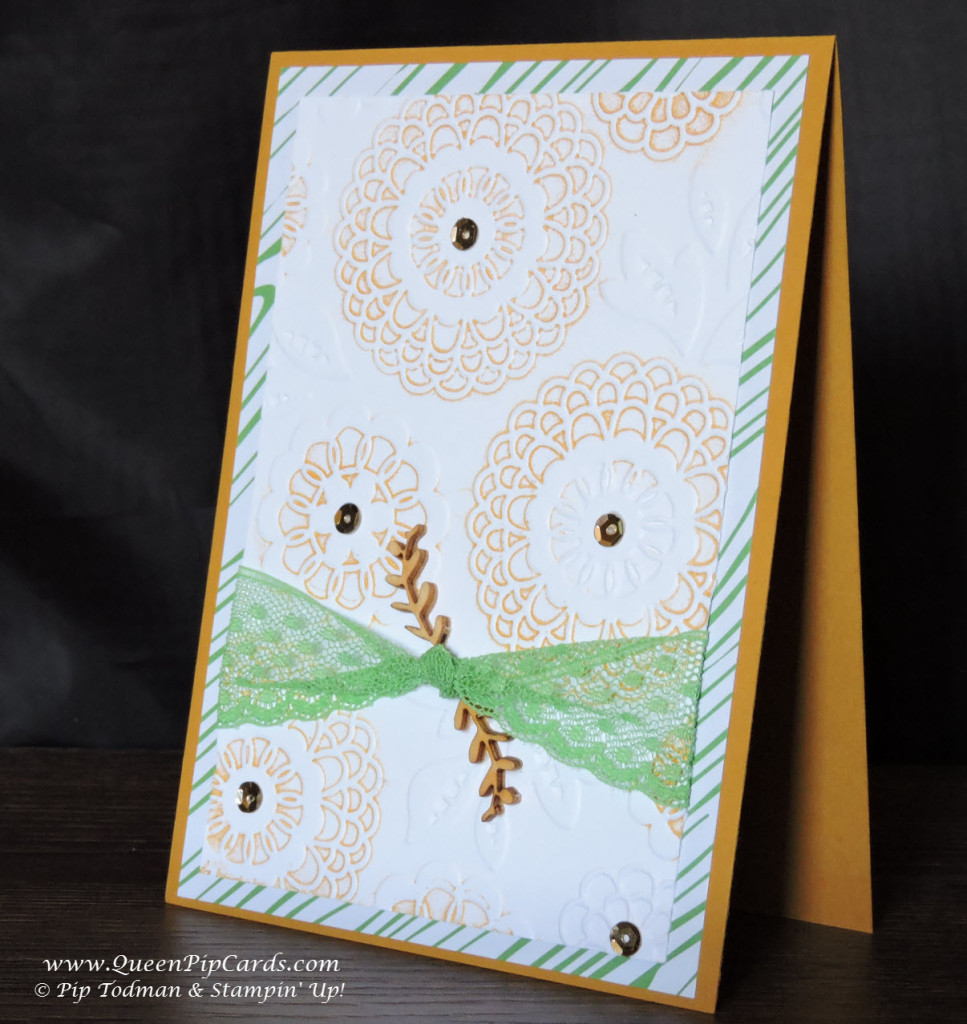
Hello everyone, I hope you’re either enjoying the sunshine, or managing to keep cool! Today I wanted to share one of the techniques I recently taught at class and one I’ll be teaching at our team training day today. Stamping with Embossing Folders, specifically the Lovely Lace Textured Embossing Folder from Stampin’ Up! but you can use any of your favourite ones.
 There are two ways of using your Embossing Folders to add colour to a card.
- Using the Brayer
- Ink up the larger side of your embossing folder by daubing ink over the image using Daubers (either mixed colours or just one)
- Sandwich your cardstock as normal
- Rub a brayer firmly over the embossing folder to transfer the ink to the card
- Using the Big Shot
- Ink up the smaller side of your embossing folder by daubing ink over the image
- Sandwich your cardstock as normal
- Run through the Big Shot as normal
You can actually daub up both sides and run them through the Big Shot – but the card I made here uses instructions 2 above.
 I finished it off with a bit of Go Wild Paperstack, some of the new In Colour Dotted Ribbon and a few embellishments from the Moments Like These Project Life by Stampin’ Up! Accessory Pack.You could add a sentiment as you fancy, but I left my plain so I can pick one to use later when I need it – or just send it blank. This next one uses the Brayer technique as described in 1 above.
 I hope you like today’s instruction and inspiration from Queen Pip Cards, as always you can order any items by clicking on the images below, until next week have a good one and I hope you get some crafting in, hugs Pip x

0 Comments