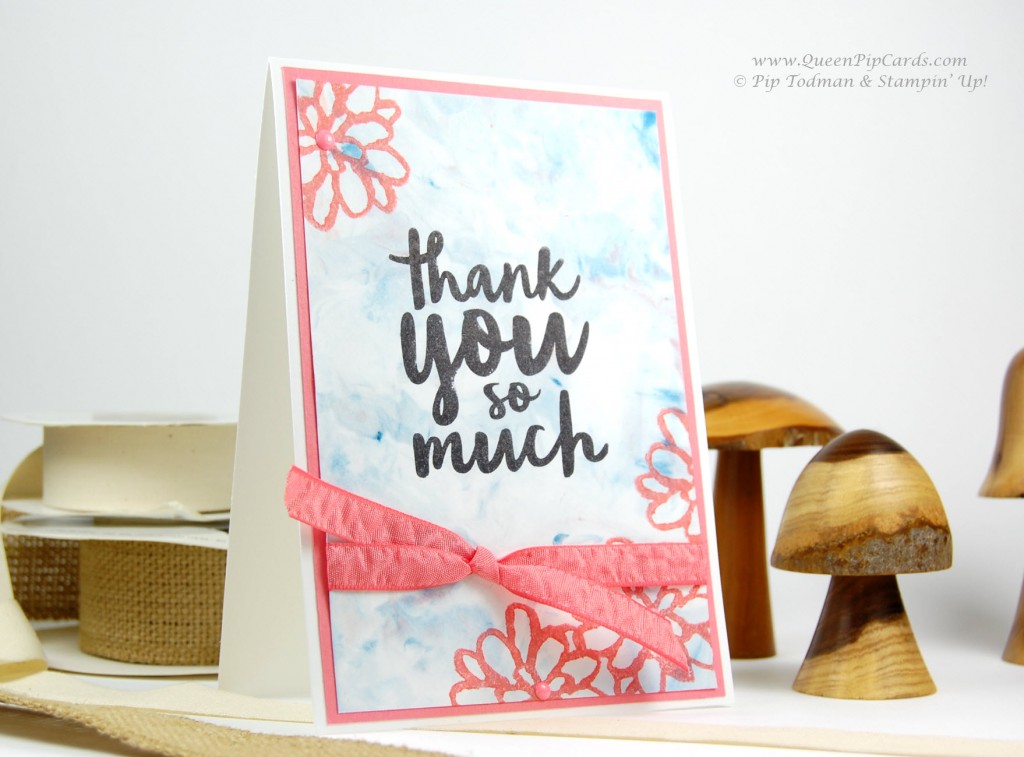
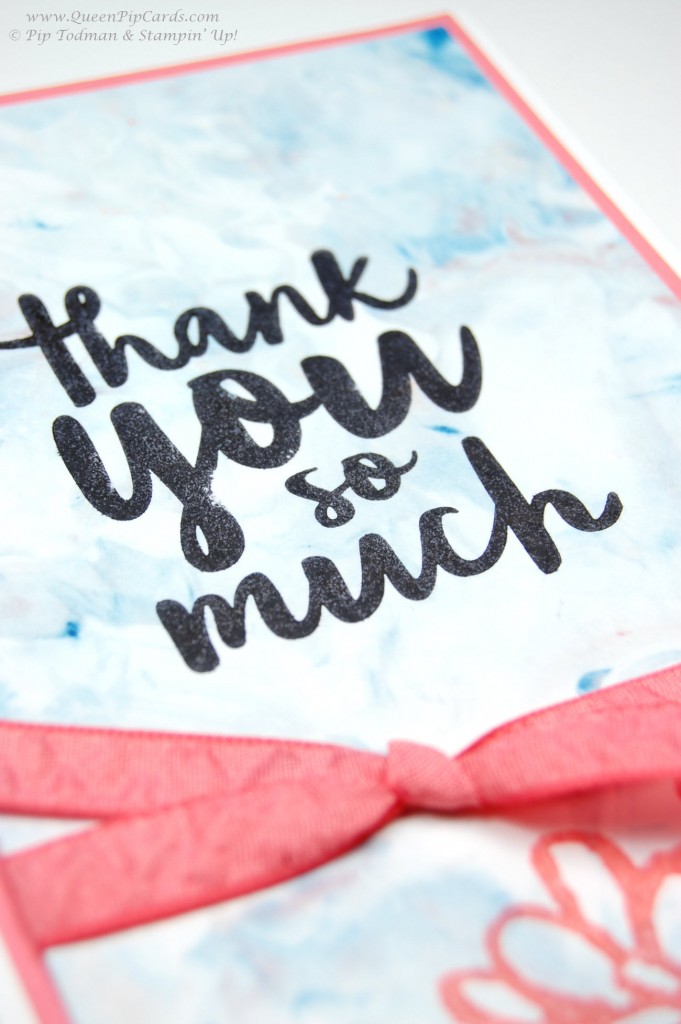
Good morning, it’s all about Shaving Foam here today, yes it’s Quick Tip Technique Video Tuesday! Today, I’m sharing with you how to use Shaving Foam and Stampin’ Up! re-fill inks to create your very own beautiful and colourful backgrounds.
 They’re never the same, look amazing, and because I used Stampin’ Up! ink re-fills they coordinate perfectly with everything else you have in your crafty cupboards. For these cards I used the new 2016-2018 In Colours – only 3 of them though; Dapper Denim, Flirty Flamingo and Sweet Sugarplum.
Here is the Shaving Foam Technique video
And you can download the full instructions to keep, print off & use whenever you like.
Shaving Foam Technique Instructions
I hope you’ll look past the fact that you can get a little messy with this technique, because the results can be truly stunning – the one on the video is much better than the one i used for my cards, but that’s because I smushed (technical phrase) the ink around the paper too quickly and I had a lot more of the dusky pink Sweet Sugarplum in my foam combo when I made those backgrounds.
 You can make this with any ink re-fills you have from Stampin’ Up! for their dye based / water based inks – don’t use Archival or Stazon except for the sentiments to get a crisp finish on that foam layered card stock.
I really hope you’ll give this a try at home and upload or send me some of your results – I’ll pop them over on the Gallery for all of us to be inspired by!
So that’s if for the Shaving Foam technique, I’m back next week for another Quick Tip Technique video, but before that check back in on Sunday for my normal posting where I’ll be sharing my launch event with you!
Until then, all the products are below so you can pop them in your basket. This month’s Giveaway Code is for some of the great Enamel Shapes I use on the card, so make sure you pop the code into the Checkout page: MA6EGYGU
 Happy foaming! Have fun, hugs, Pip x

0 Comments