Good morning! Do you have lots of photos and stuff in boxes stored away where you can’t see them? Are you overwhelmed by how to store your photos in a simple to use fashion that doesn’t take up loads of time or space? I have the thing for you! Project Life by Stampin’ Up! has been a revelation to me. I had lots of photos stored in their wallets, stuck in a box where I never looked at them, half the time I can no longer remember where we were, what year it was or who we were with! Or I’ve got them stuck on my phone, laptop, hard drive, email, cloud or something fluffy! I can never find them to show others or print them out and see them together!
Does this sound familiar?
Well, I can tell you I fixed the problem using the photo organising solution from Stampin’ Up! called Project Life by Stampin’ Up! It’s so very simple to do, it doesn’t take a lot of effort or investment, just a few hours a month will set you well on the road to having your photos sorted, organised and easy to look at in a few months!
 So what is it then?
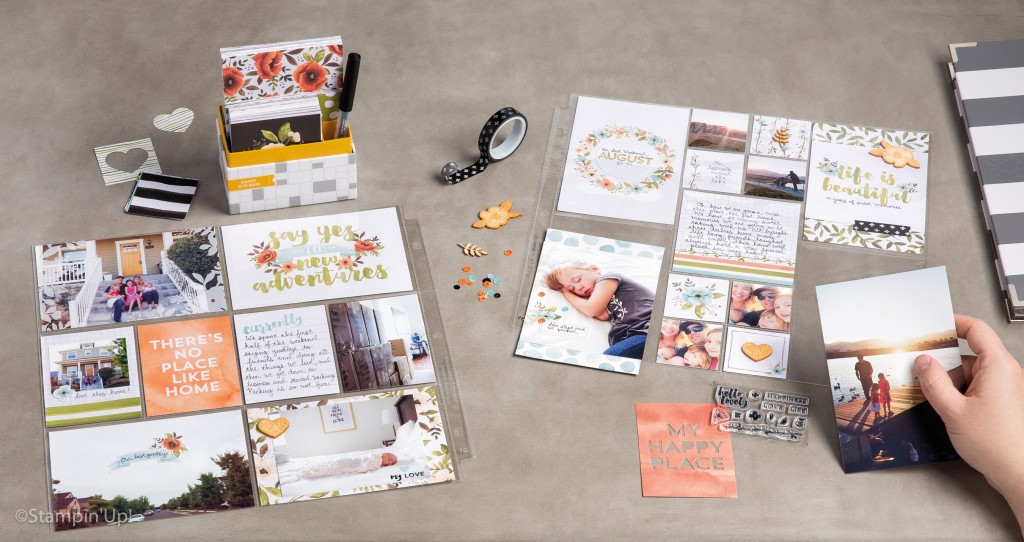
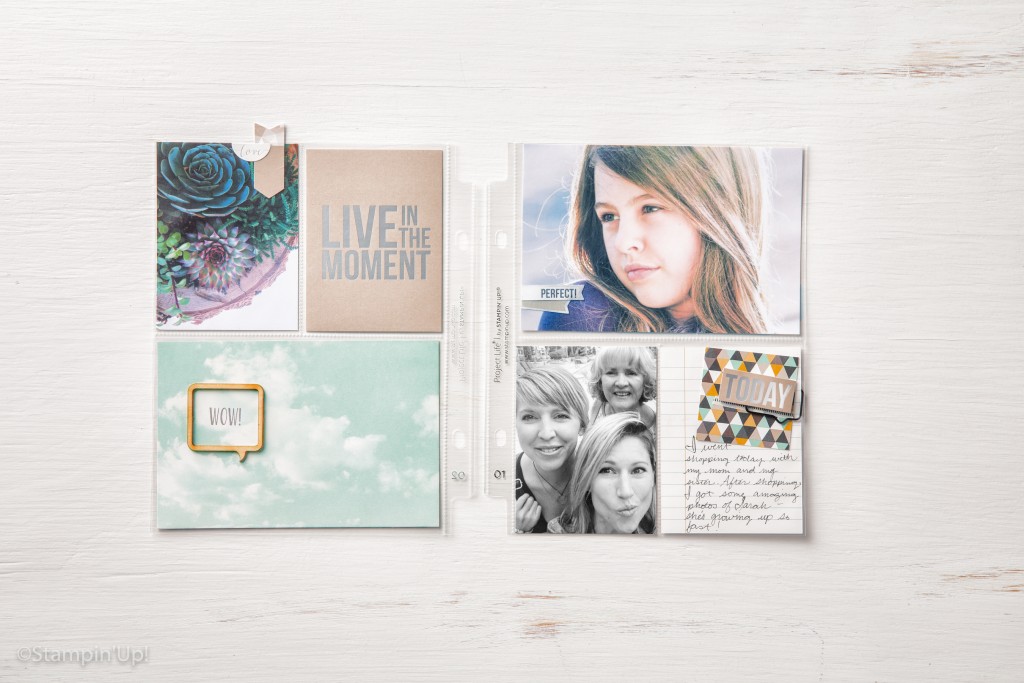
It’s simple – an album, some pages with pockets in (Pocket Page Protectors) and some pretty cards printed with designs, words or plain that you slot into the pockets alongside your photos to add some interest, somewhere to write notes or stick other bits onto. That is IT!
Do I need to be a crafter or creative to use it?
Nope, not a bit of crafting in sight (unless you want to). Just pop them in the pockets, and you’re done. The most you’ll need to be able to do is cut down your photos if they’re the wrong size for how you want to show them.
 How do I get started with my Photos?
First, grab your photos & sort out the most recent ones, or the ones of a special occasion you want to get into your album. Don’t worry about how many you have or which way round they are, or what size – just get them together.
Choose from the small or big albums and the matching Pocket Page Protectors.
Choose a Card Collection that goes with the theme of your photos – could match in general the colours, or the occasion or wording you like.
Layout the photos you want on each page & work out which pockets they should go into. Remember it’s ok to cut up your photos! Add a few cards from your Card Collection and journal if you want to using the Journaling pens.
That’s it! Don’t think it’s any harder than that because it really, really isn’t. The pages on this post were made exactly the same way. The hardest part for me is photographing the finished result so it’s not glaring – which is why you’ve got a mix of Stampin’ Up! and Queen Pip Cards images, below I’m managed to show you us in Barcelona last month – yes I’m already getting those into albums! It’s really inexpensive to get started, just click on the products you’d like to buy now, and build it up as you go along.
 Anyone who purchases Project Life products from me during June / July will get a FREE added tips & tricks sheet to help you with your memory keeping too! If you want to see how this works in person, check out my Memories Made Easy classes – the next one is July 9th – RSVP HERE.
So happy memory keeping, get those photo’s printed out or sorted from their boxes and give it a go! Hugs, Pip x
#memoriesmadeeasy #projectlife #stampinup #queenpipcards #queenpip #memorykeeping #scrapbooking #photos

0 Comments