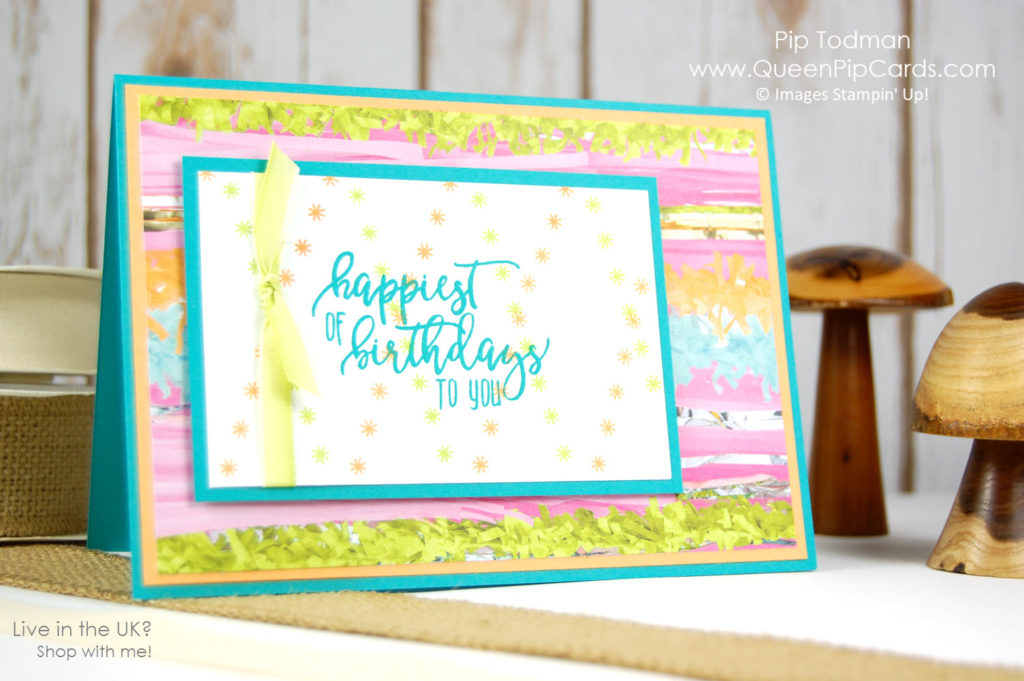
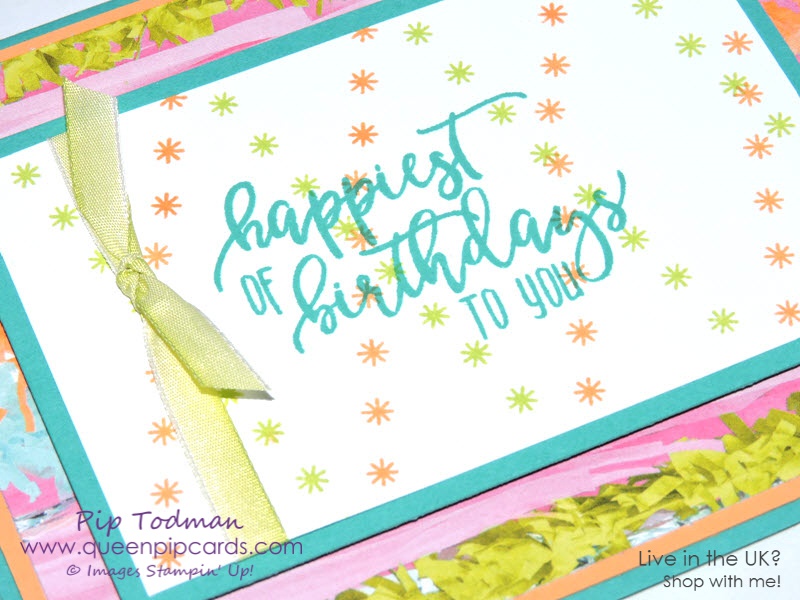
Repeat Stamping with Picture Perfect Birthday can give you some beautiful results. In today’s post I wanted to share a quick card. It creates a background for the sentiment simply by repeat stamping one particular image. In this case I used the stars image and stamped it over and over first in one colour and then in another.

Repeat Stamping with Picture Perfect
This was made easy for me by using the new Stamparatus tool that I got my hands on over the Christmas break. Some of my customers managed to get in at the first order and they’re receiving their Stamparatus tools this week! You can’t now order this tool until June, but I will be showing some more examples of where it’s useful over the coming months, so you can make up your own mind about owning one. They will launch in the new Annual Catalogue in June, so you have some time yet.
 I love how the tool made the lines so perfectly spaced and switching colours and sides was easy. I used Peekaboo Peach and Lemon Lime Twist as they are the colours featured in the Picture Perfect Party Suite.
Queen Pip Tip
This technique can be done “by eye” and with Photopolymer stamps that’s not too hard to do. The tool just made it simple, but you can do this today by lining up the images and stamping it again and again.
 Stamping in this way helps to give a background to the sentiment. It also links the colours with the base papers and card, ensuring a complete colour combination that is pleasing to the eye. Like it? Need to ask a question or have a comment – please COMMENT HERE. I love to hear your thoughts & ideas too!
Repeat Stamping a Step by Step Guide
- Position the stars stamps onto your clear block – I used the G block.
- Next ink up & starting from one corner stamp the image over and over in regular intervals down the card piece diagonally. Don’t worry initially about making sure the image reaches over the entire width of the card. Once you’ve gone all the way down, fill in those edges so you stamp right up to, and over the edges so it looks continuous.
- Then take your next colour, reink your stamp and turning your card piece around, stamp again diagonally all the way down again. Try to get the same regular intervals in your stamping. Then again, fill in the edges so you have a continuous row of stars in both colours diagonally across your card piece.
- You can then mount it on some Bermuda Bay, add the sentiment and ribbon.
- Finally attach to your base layers of Designer Series Paper, Peekaboo Peach card and your Bermuda Bay card base.
I’ve done a little video to help you too! Have a watch and see how easy it can be.
Like it? Need any of the bits to make it? You can purchase them all from me online via my Online Store. Until next time – have fun!
Crafty hugs, Pip x
#QueenPipCards #StampinUp #papercraft #InspiringYourCreativity
– Use my Monthly Giveaway Code for all orders under £150 in the Host Reward box on your Basket screen online. I will send you a special thank you from me and a share of the rewards next month. Ordering over £150? Keep the rewards for yourself! Click here to read more .


– Click HERE to Join my fabulous team the Royal Stampers today! Just £99 for £130 worth of products! Click here to Join now! or Click here to read about us!
– Fill in the Subscribe form below to keep up to date with all the news and get exclusive projects from Queen Pip Cards

SUPERBE