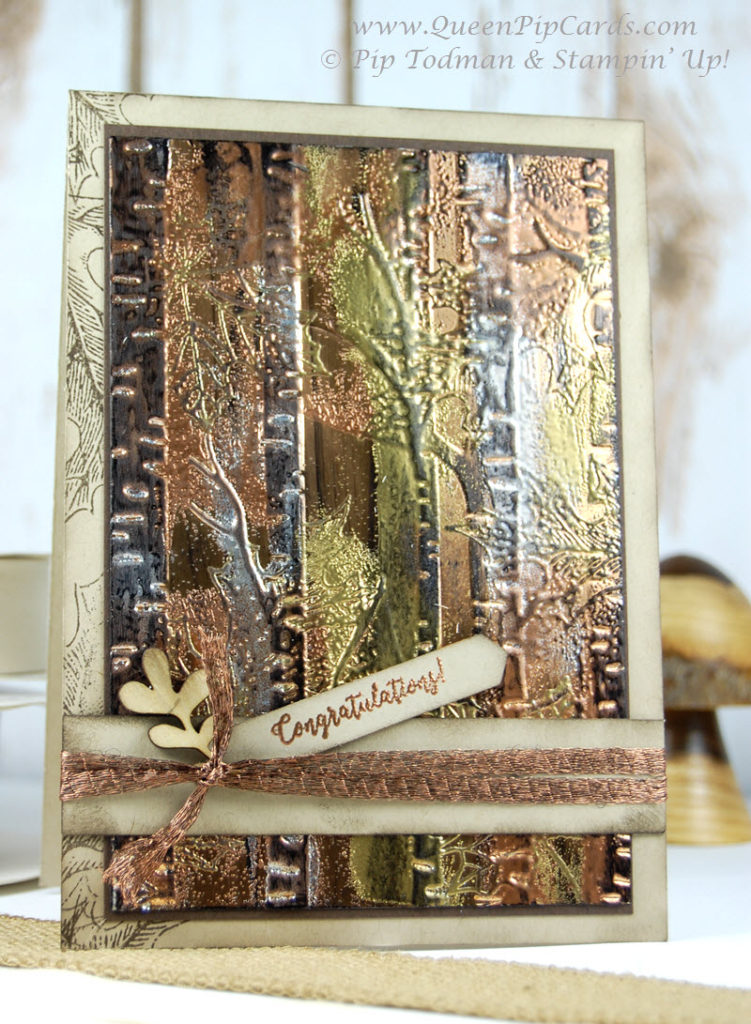
Today I want to show you the Tarnished Foil Technique explained in easy steps. It’s such a great artistic, mixed media type of technique. It takes a little bit of time but looks amazing in real life. It’s very tactile too. You will have such a lot of fun with this!
Tarnished Foil Technique (also known as Tarnished Metal)

Firstly you start off with a piece of our Foil card (any of the metallics will do, but I use Copper on these examples). Stamp an image in Versamark and cover with another metallic Stampin’ Emboss Powder (I used Gold). Heat gently, you will be heating this foil a lot, so be careful otherwise you will lift the top coat off the backing card stock! It also gets warm, watch your fingers! So now you have your foil base with some embossed images on it (I used Vintage Leaves).
Tarnished Foil Technique step 2
Next you are going to run this piece of foil through the Woodland Embossing Folder. It looks fab at this point but very bright and shiny! Next you apply Jet Black Staz-on ink using the entire pad face down & swiped top to bottom – this just adds black ink to the raised portions of your image. Just use Silver & leave at this stage to have the Black Ice technique!
Leave that to dry for a minute or so & then swipe some Versamark over areas of your foil, try not to leave straight lines, be random if you can! Leave enough of the embossed leaves showing through. Add more metallic Stampin’ Emboss powder in yet another metallic. Heat again & repeat with various colours and more Staz-on until you get the desired effect!

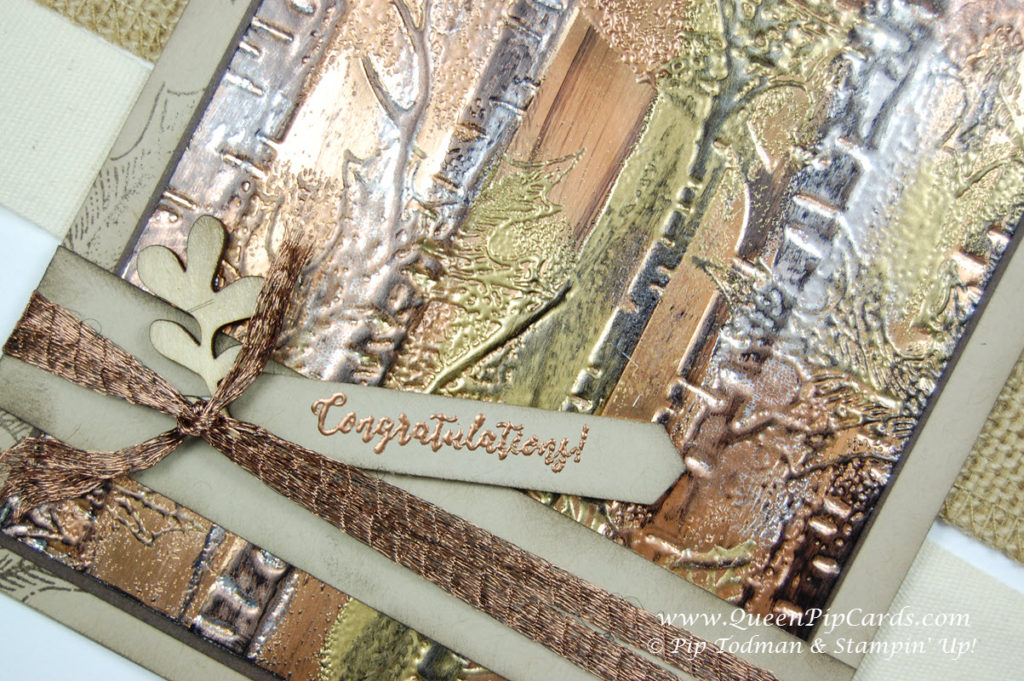
Finish with Copper Trim, Touches of Nature Elements and a spot of stamping & sponging on Crumb Cake Card stock!
Queen Pip’s Tarnished Foil Technique changes!

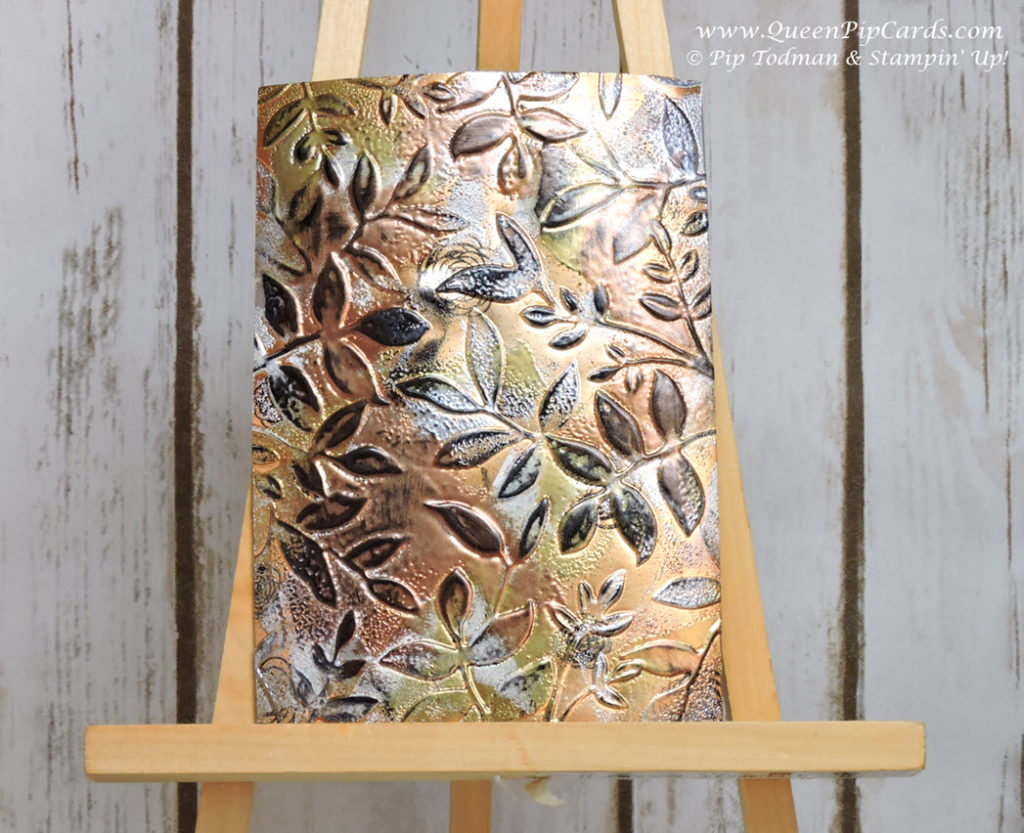
Of course I didn’t stop with this. I wanted to see how the new Deep Impression folders would work, the answer is beautifully! I also added some White Stampin’ Emboss Powder because I could and to see how that looked. You can see this one in all it’s glory because I’ve yet to turn it into a card. What do you think? I like it and the different layers of the Deep Embossing folder really add something. These cards make you want to touch them! I love it when a card that does that.
So is Tarnished Foil on your new technique list? I hope so, it’s a lot of fun. Just don’t burn your fingers!
If you need to buy any of the bits you need, please just click the images below. Use my Monthly Giveaway Host Reward Code to get an extra thank you from me next month.
Crafty hugs, Pip x
#QueenPipCards #StampinUp #papercraft
– Use my Monthly Giveaway Code for all orders under £150 in the Host Reward box on your Basket screen online. I will send you a special thank you from me next month. Click here to read more .
– Click HERE to Join my fabulous team the Royal Stampers today! Just £99 for £130 worth of products! Click here to Join now! or Click here to read about us!
– Fill in the Subscribe form below to keep up to date with all the news and get exclusive projects from Queen Pip Cards


Just now found this site and your cards of ornate and metallic leaves and trees are stunning. Thanks so very much for sharing these ideas. I am a Su demonstrator – was for over 25 years then gave it up and am now back in as a demo. Hope to see your site again
Thanks Ronnie! Glad you found me and are enjoying my stuff. I try to blog once or twice a week! Thanks so much for getting in touch! Hugs, Pip x
I love this technique! Your designs are gorgeous! Thanks for the inspiration. Melissa Kerman has a beautiful Country Floral card that git me hooked. I’ve had a fun time this Christmas with snowflakes. Can’t wait to try the leaves folders based on your lovely work.
Thank you Jeanine!! I’m so glad yu’re hooked! Enjoy this new technique! Hugs, Pip x
Je suis éberluée par l’originalité de cette oeuvre, mais je n’ai pas compris comment s’y prendre.
Je félicite et remercie cette dame, de me faire découvrir un monde jusque ici, inconnu pour moi.
Margot Kandel
Merci beaucoup. Vous devez utiliser la poudre Heat Emboss plusieurs fois. Puis embosser à travers une machine Big Shot.
J’espère que mon français est ok !?
Well I am only a year late in seeing this – but absolutley beautiful work. I am a SU demo in Pahrump, NV – love your many ideas.
Hey Roxy, time doesn’t matter! You’re here now! Welcome and I’m glad you like my stuff!
Beautiful Tarnished Foil pieces here! I can’t wait to see the Layered Leaves focal piece on a finished card. It’s very fun as is too. Thanks for mentioning me in your post as well. I do appreciate it!!! Happy Crafting!
Hi Melissa!! Thanks so much for commenting! I loved your tutorial and so did my ladies! I have actually used the layered leaves piece with Painted Harvest, as a background to a wreath – it looks yummy!
Here it is on my Facebook page: https://www.facebook.com/QueenPipCards/photos/a.367287656665105.81545.329121180481753/1506770016050191/?type=3
Hope you can find it!
Thanks for stopping by! Hugs, Pip x