 Hello everyone, as I promised last week here are all the cards and projects that I showed at my technique class yesterday. The ladies spent most of the session getting to grips with the Two Step stamping technique using the Stamp-a-ma-jig but we also played with a lot of the new Photopolymer stampsets that are also designed for Two Step stamping. The class was about playing – there was no rush to make anything or get to the die cutting machine – it was a very relaxed affair!
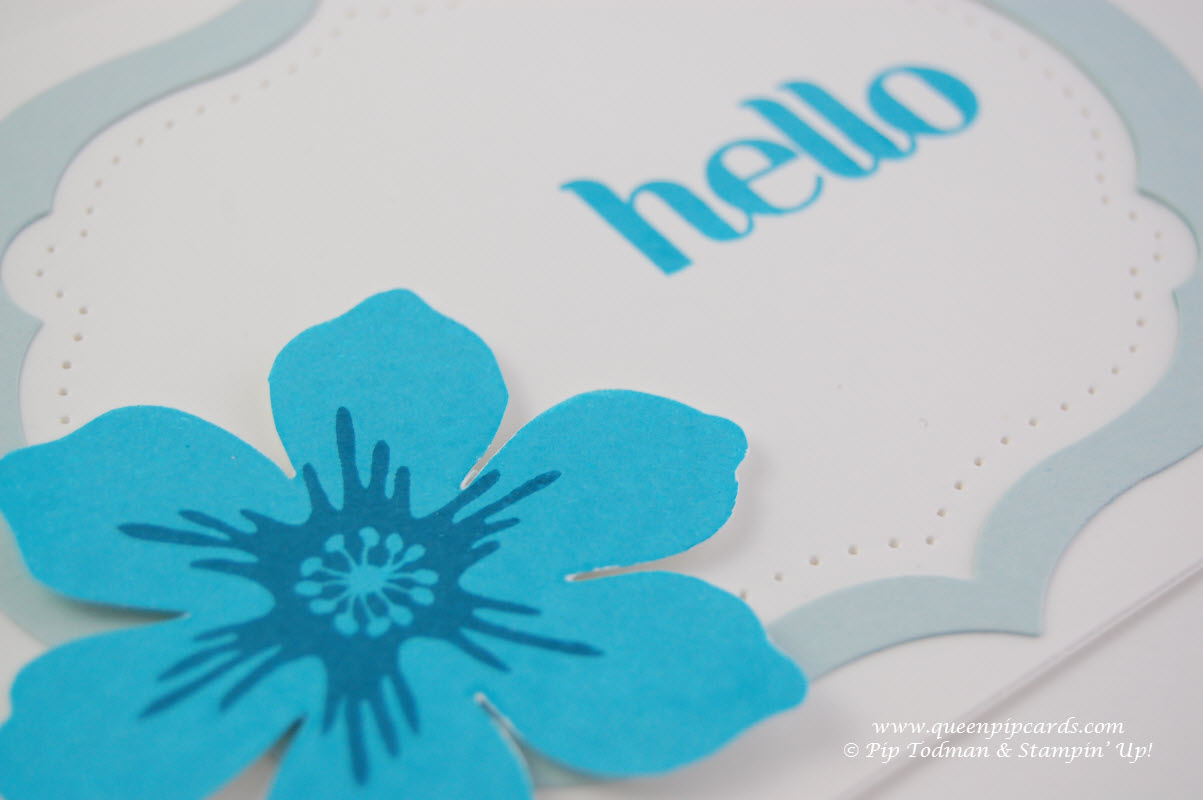
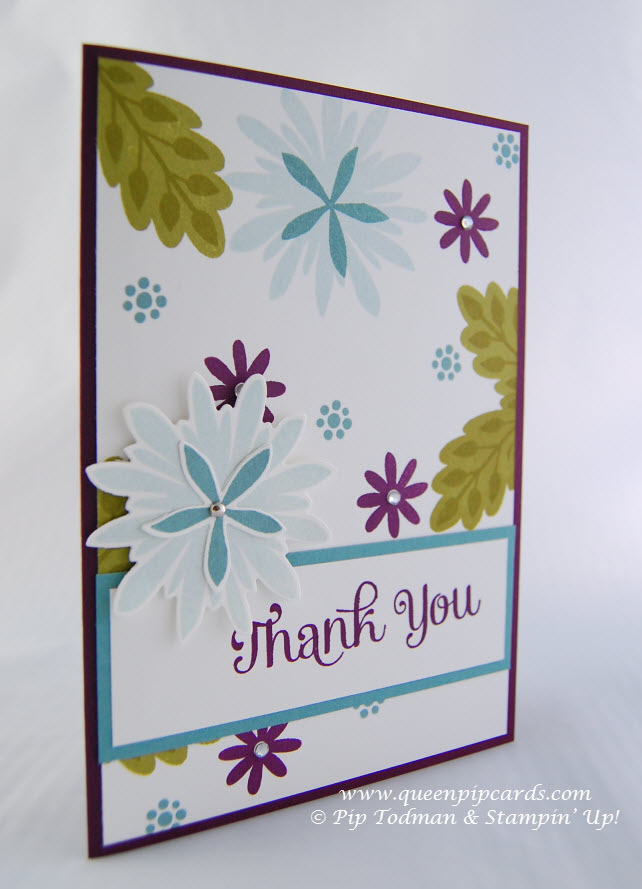
 I think the favourite stamp set of the bunch was Stippled Blossoms (which also happens to be one of my best ever purchases!) I love it and have used it a lot, but I’ve never done a class with it before now, so here was its chance to shine – and it didn’t disappoint.
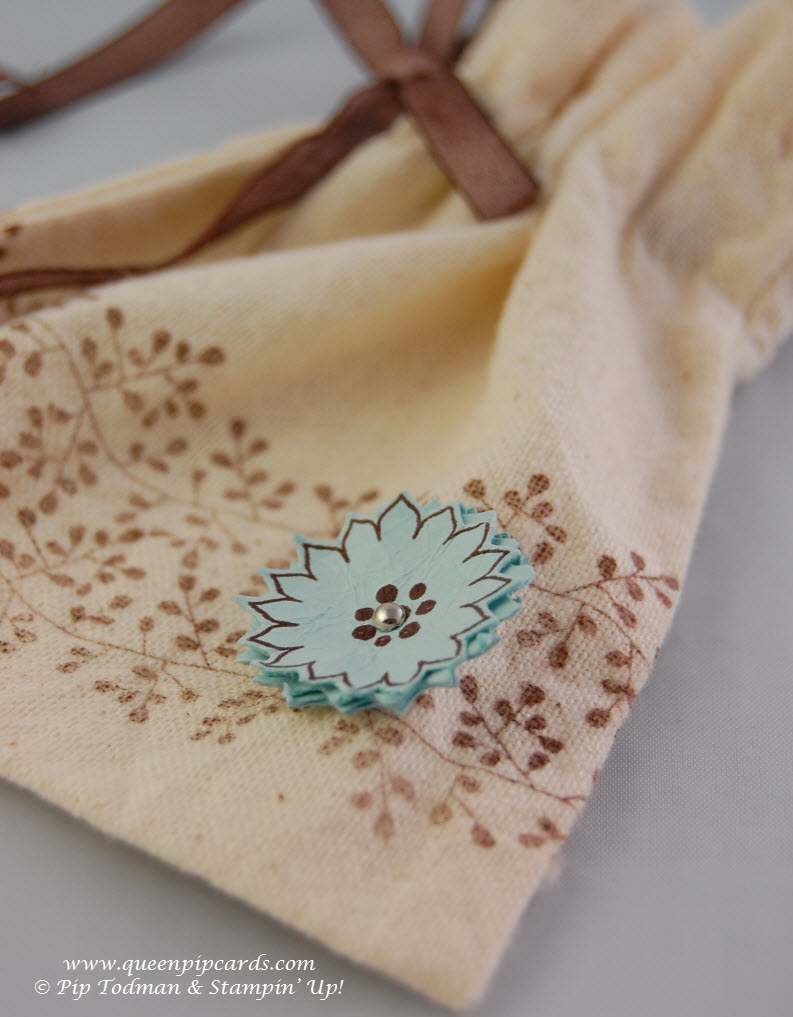
I also love the new Bordering Blooms stampset which is Photopolymer and creates some wonderful borders. It has some matching elements in the Flower Patch stampset and I used both here to create this cute bag – an idea straight out of this year’s Catalogue.
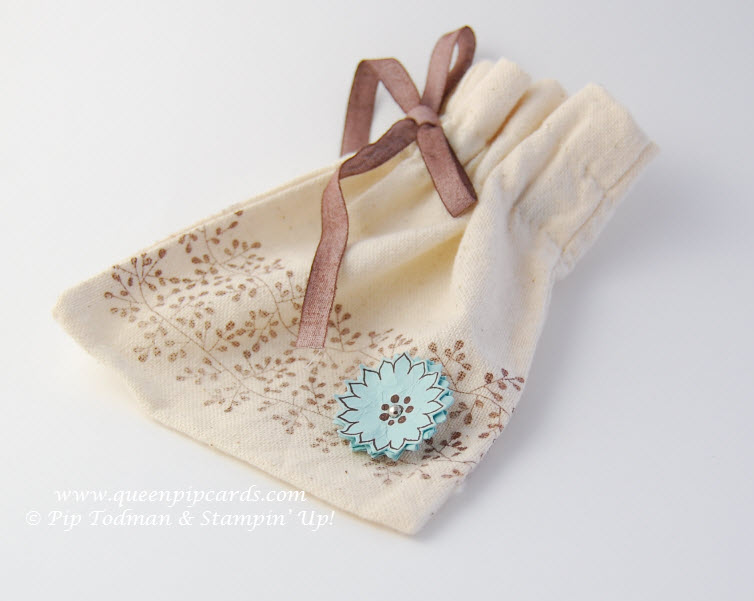
 I loved the idea of a bag and matching notelet, so I decided to CASE Stampin’ Up!’s genius
  creation – and I’m pretty pleased with how mine came out.
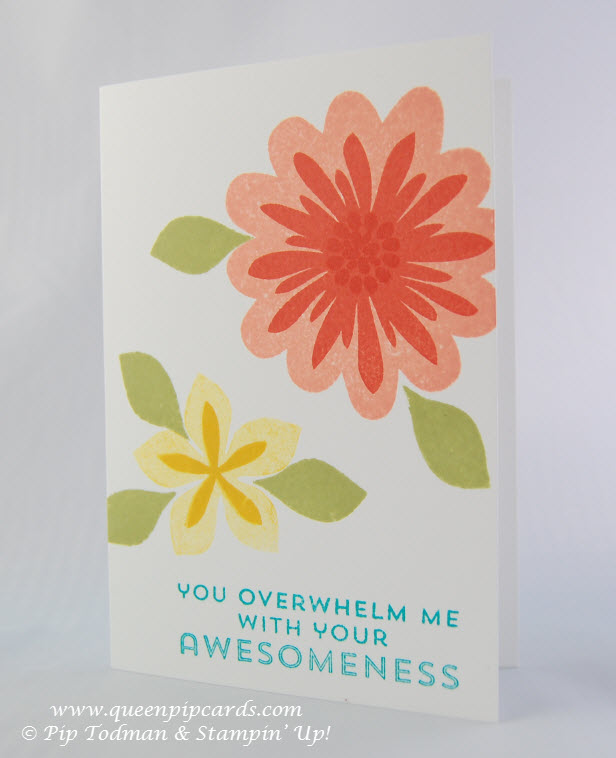
Such a simple idea, but very effective and easy to do with the Photopolymer set because you can see through the stamp to where you’re placing it – I did the central bursts first and then the outside flowers, but I used my Stamp-a-ma-jig to then align my words!
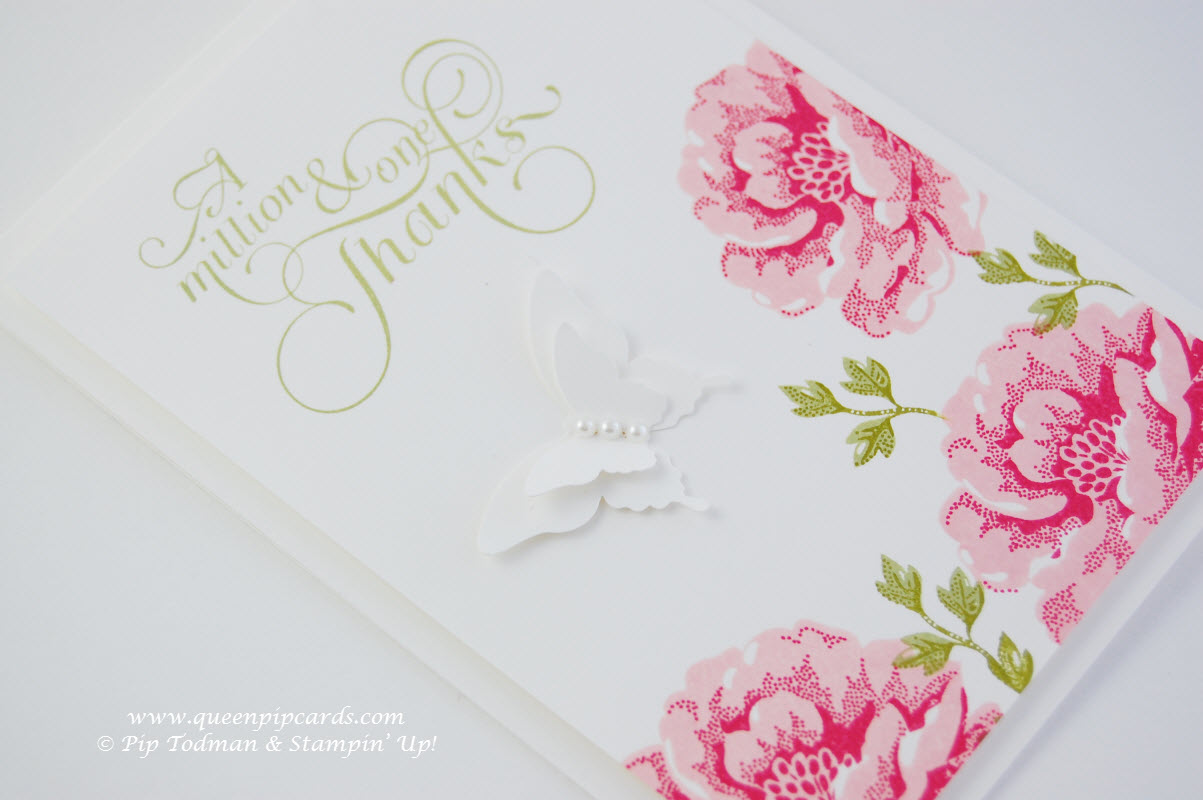
The Flower Patch stampset took a while to grow on people, but the more you use it the better it becomes and the more things you can see to do with it. I CASE’d this lovely Blackberry Bliss card from Connie H in the US. As you can see it also highlights one of the great things about the Flower Patch stampset – yup, it has matching framelits!!!
And this card is again CASE’d from our amazing Annual Catalogue!
 All in all we had a lovely afternoon of stamping and everyone went home having mastered the art – but wanting to do more at home too in one form or another. As one of my ladies said “I’d never spend 2 hours at home playing with a technique because I’m always in a rush to finish a card or layout” and that’s what my technique classes are all about – learning new ways of doing things, working with the various “clever” techniques people see and would love to learn how to do, or just learning how to use a tool properly so it’s not scary, but easy to use and helpful when you most need it.
I think the most important thing I’ve learnt is that my Stamp-a-ma-jig is not just for those stampsets that require it to make a gorgeous image – it’s always there when I need it to align words or ensure something can fit centrally in a gap or space made on my card – I use it all the time but it doesn’t normally get out much, so I think it enjoyed having an afternoon out showing how useful it can be to the ladies!
 So, until next week happy Stamping, and if you’d like to learn a new technique, book onto my September class here where I’ll be teaching the Reflection and Resist Embossing techniques!
In the meantime, if you’d like to purchase any of the items featured here, just click on the image below or head over to My Shop. Till then, thanks for stopping by, Pip x


0 Comments