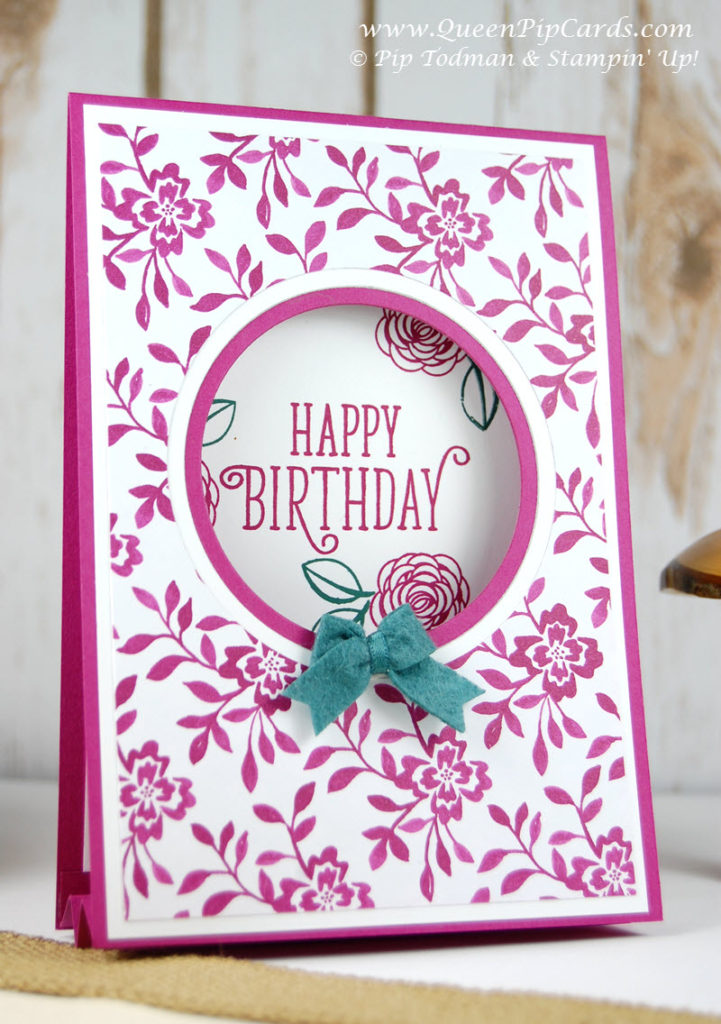
Welcome to my How To Make a tent fold card step by step guide. I hope you like the new How To series of blog posts I’m doing. This is with the aim of bringing my classes into your home a bit more. I give lots of info and tips as well as my designs at my classes. Now I want to bring these to you at home too, and give a refresher to my class attendees if they need it! The idea of a tent fold card is simple. Create a standy upy card where the base is connected so it stands up like a tent! This one uses Berry Burst and it really does pop! A favourite of my class goers, this card just needs some basic products to make it.
 How to Make A Tent Fold Card
First you want to create the card base. Using your Berry Burst card stock A4 (short edge at top of trimmer) cut at 10.5 cm and score the long edge at 14.9 cm. Next cut out a circle in the front of your card using a Layering Circle die. You will need 3 circle dies in total, this one should be cut using the smallest one.
Layer on a piece of Whisper White cut to size (14.4 x 10 cm) and cut out the middle size circle in that to line up with the previous circle. If you position it & then turn the card over you can draw around the circle you previously cut out – perfect positioning! Do the same again with a layer of Fresh Florals paper 13.9 x 9.5 cm using the largest circle this time to match up with the others. This gives a feeling of depth to your card.
 Decoration and finishing the Tent Fold
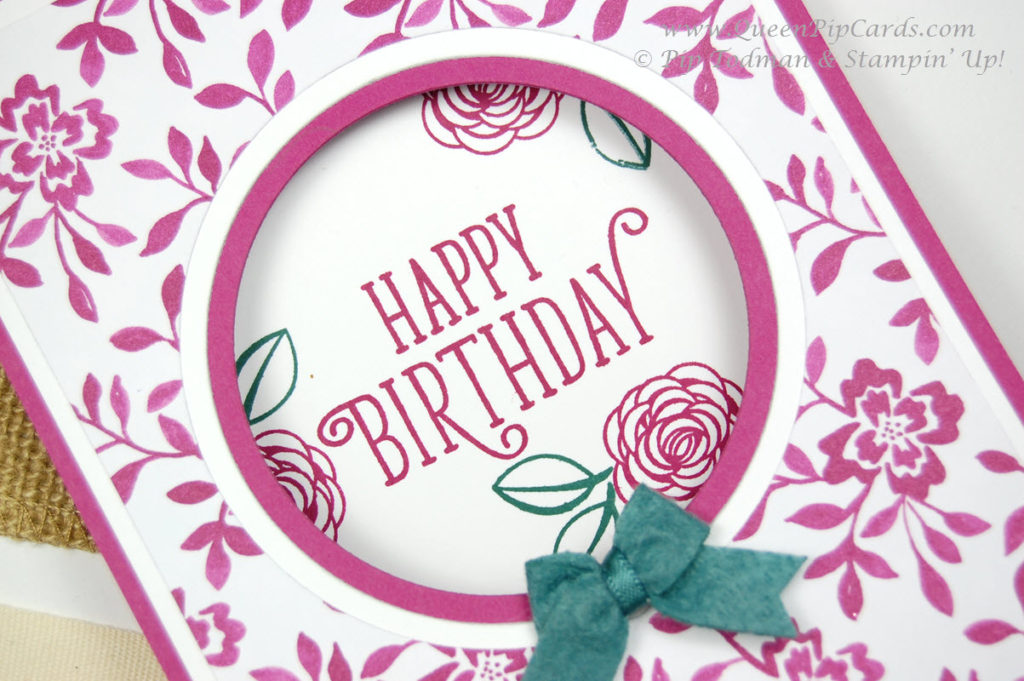
Next cut some more Whisper White 14.4 x 10 cm to go inside your card (I just line it up & attach with washi tape before stamping – that way you’re not stuck if something goes wrong! Close your card & stamp the Sentiment through the central holes. Open your card & decorate the rest of the inside as you wish. Remember, this card won’t be opening, so just stamp around the circle / Sentiment area so it can be seen through the opening!
Now you are ready to create the tent! Cut a piece of Berry Burst card stock 10.5 x 6 cm and score (with the short side at the top of your board) every 1 cm. Fold to form a concertina. Glue the back inside layer to one side of the concertina and the front of the card to the other side so it secures the front to the back. This will allow your card to stand up but also fold flat for posting! Decorate it with one of the new In Color bows and some bling!
So that’s it, my step by step guide on How to Make A Tent Fold Card. I hope you make one, I’d love to see it if you do! All the products I recommend to make this card are shown below.
Crafty hugs, Pip x
#QueenPipCards #StampinUp #papercraft #InspiringYourCreativity
– Use my Monthly Giveaway Code for all orders under £150 in the Host Reward box on your Basket screen online. I will send you a special thank you from me and a share of the rewards next month. Ordering over £150? Keep the rewards for yourself! Click here to read more .


– Click HERE to Join my fabulous team the Royal Stampers today! Just £99 for £130 worth of products! Click here to Join now! or Click here to read about us!
– Click HERE to become a Crafty Corner Member on Facebook!
– Fill in the Subscribe form below to keep up to date with all the news and get exclusive projects from Queen Pip Cards

0 Comments