These Pizza Boxes from Stampin’ Up! are cute already, make it a Year of Cheer Pizza Box and the cuteness and luxury just steps up a notch. This retreat project was our wind down Sunday afternoon project. Really easy, no hard calculations or brain work needed. Just stamping and cutting pretty things for a box and some matching cards (I’ll show you those on Thursday!).
Year of Cheer Pizza Box Step by Step
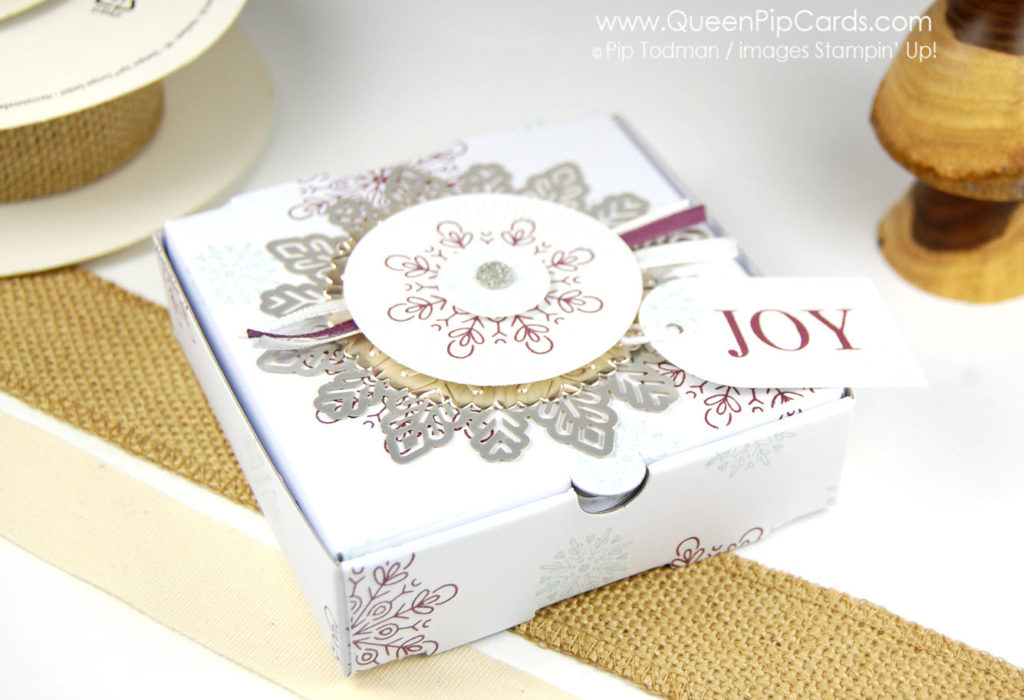 Start off with a blank Pizza Box, I love that they come in packs of 8 so you can make a bunch in a batch ready to hand out to friends, family or even sell at craft fairs or school events this term.
Stamp all over the card side of box using Soft Sky and Fresh Fig ink and the 2 snowflake stamps from the Cheers to the Year stamp set. These boxes have a lined inside which means they’re also food safe!
Next assemble your box by folding in all the sides & then folding over the front flap & easily locking the tabs into place. Now you are ready to decorate the front of the box.
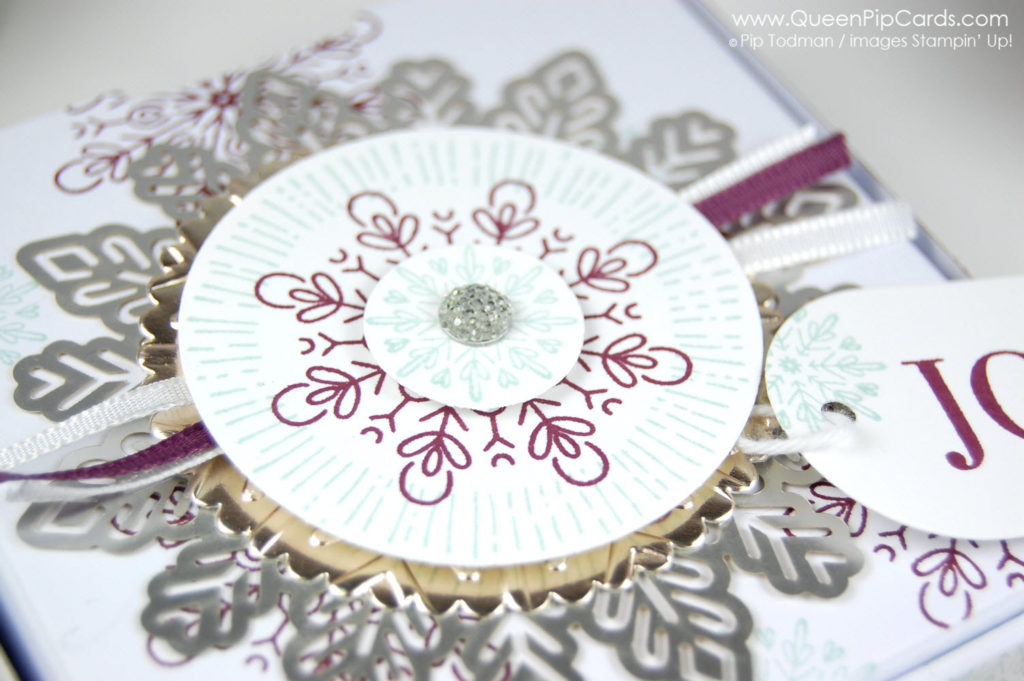 Layer up a Foil Snowflake, an embossed piece of Champagne Foil, and some stamped snowflakes.
Queen Pip Tip:
Use your Layering Circle Dies for perfect alignment and a mix of smooth and scalloped edges for more interest.
Sheer Ribbon in Whisper White and Fresh Fig give a different texture and some straight lines to the decoration. Using Stampin’ Dimensionals adds height to your project and allows each layer to shine through.
Stamp the Joy in Fresh Fig and crop out with the banner from the Christmas Lamppost Thinlit Dies. Use Whisper White Bakers Twine to attach it to the base of your topper. Pretty and also easy to make, just how I like my projects!
Crafty hugs, Pip x
#QueenPipCards #StampinUp #papercraft #InspiringYourCreativity
– Use my Monthly Giveaway Code for all orders under £150 in the Host Reward box on your Basket screen online. I will send you a special thank you from me and also a share of the rewards next month. Ordering over £150? Keep the rewards for yourself! Click here to read more .

– Click HERE to Join my fabulous team the Royal Stampers today! Just £99 for £130 worth of products! Click here to Join now! or Click here to read about us!
– Click HERE to become a Crafty Corner Member on Facebook!
– Fill in the Subscribe form below to keep up to date with all the news and get exclusive projects from Queen Pip Cards
MAGNIFIQUE IT SEEMS TO BE FOR A BIJOU
Why thank you!!