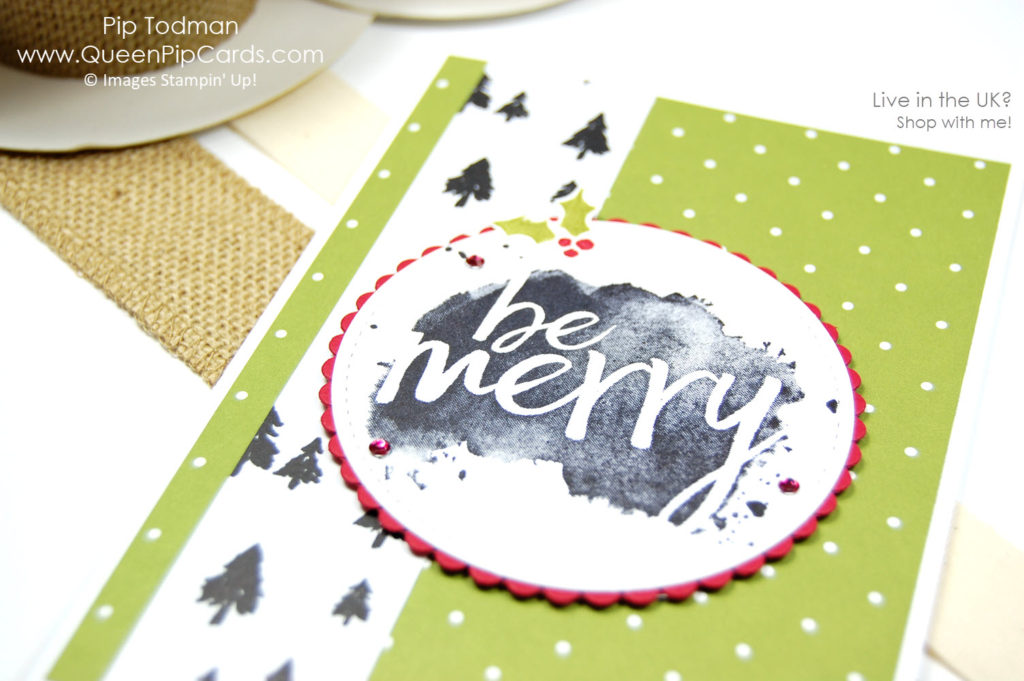
Today I’m sharing one of my Private Class cards where we used Stampin’ Blends and Every Good Wish! I love the striking look of the Black sentiment. The sparkle is added with some Rhinstones coloured with the Light Cherry Cobbler Stampin’ Blend.
Stampin’ Blends and Every Good Wish
 Stampin’ Blends are alcohol markers, and as such they can be used to colour non porous surfaces. You can colour Rhinestones, Window Acetate sheets or Vellum! They just need a moment to dry and that’s it. Ready to use on your projects!
Don’t they look fab?
Queen Pip Tip:
Use the Stampin’ Blends on the Rhinestones when they’re still on the backing sheet. That way you won’t accidentally mark your card!
I love hearing from you. If you have a question or thoughts to share about today’s post, please, COMMENT HERE.
Step By Step
Here is my step by step guide to recreate the card at home.
- Whisper White Thick card base (A5 folded in half).
- Next layer some Merry Little Christmas Designer Series Paper, just cut to 14.4 x 10 cm and it will fit perfectly.
- Cut another strip from a different design 14.4 x 4 cm this is your side strip. Use Archival Basic Black to stamp the Be Merry sentiment onto Whisper White, cut out using the largest Stitched Shapes Framelit Circle.
- You then use the largest Scalloped Circle from the Layering Circle Framelits to cut out the Real Red base layer.
- Pop it all up on Stampin’ Dimensionals and add your Stampin’ Blend coloured Rhinestones.
- To finish I used the Real Red and Old Olive Write Markers (which are currently on sale) to colour in the holly stamp, stamp onto Whisper White and fussy cut it out.
Job done!
So that’s how you use Stampin’ Blends and Every Good Wish for a funky, modern Christmas card. I hope you liked it? Here’s everything I used to make it. Click on anything you’d like to purchase and visit my store! Every Good Wish and Write Markers are in the Year End Sale & while Stocks Last!
Crafty hugs, Pip x
#QueenPipCards #StampinUp #papercraft #InspiringYourCreativity
– Use my Monthly Giveaway Code for all orders under £150 in the Host Reward box on your Basket screen online. I will send you a special thank you from me and a share of the rewards next month. Ordering over £150? Keep the rewards for yourself! Click here to read more .


– Click HERE to Join my fabulous team the Royal Stampers today! Just £99 for £130 worth of products! Click here to Join now! or Click here to read about us!
– Click HERE to become a Crafty Corner Member on Facebook!
– Fill in the Subscribe form below to keep up to date with all the news and get exclusive projects from Queen Pip Cards
0 Comments