Find out how to use Curvy dies in my latest Facebook Live video replay today. Plus I am sharing images and measurements for you. Curves on cards make great focal points, drawing the eye from left to right or up to down. Whether you cut them by hand, or use special dies such as these they’ll bring an added wow to your projects.
2 Ways to use Curvy Dies
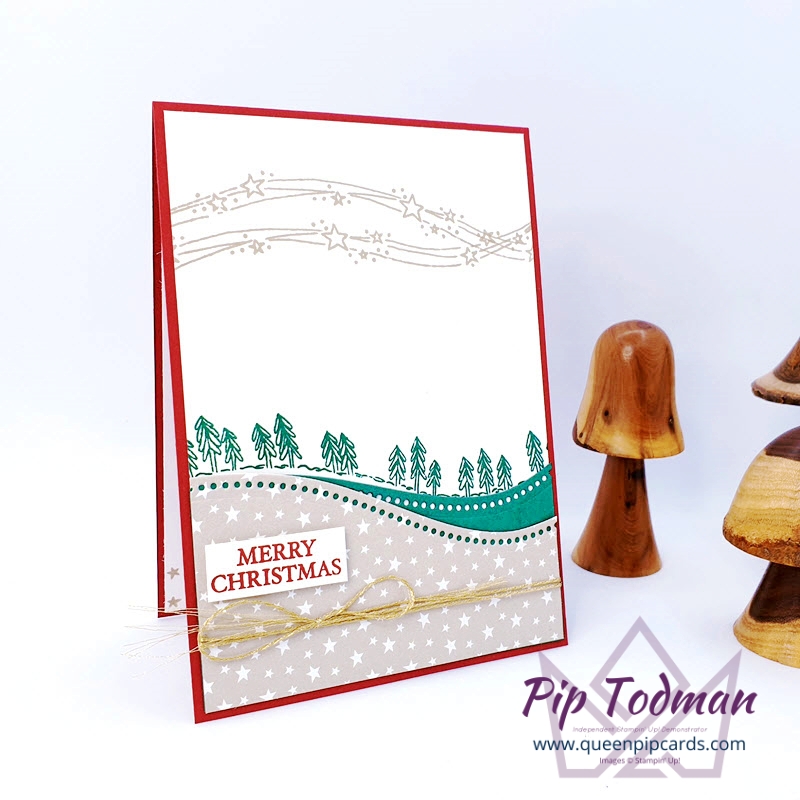
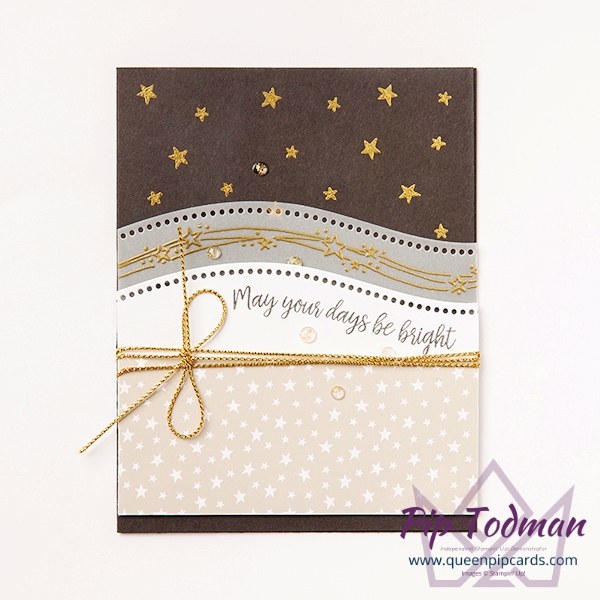
You can see 2 curved die pieces on this card, both using the same one, but slightly offset. Pick up that design piece with the curve of the stamped stars images and you have a card that is gentle on the eye and somehow complete.
You will know when your card is right because it will feel comfortable to look at. This is something I learned early on. That’s when it’s time to stop!
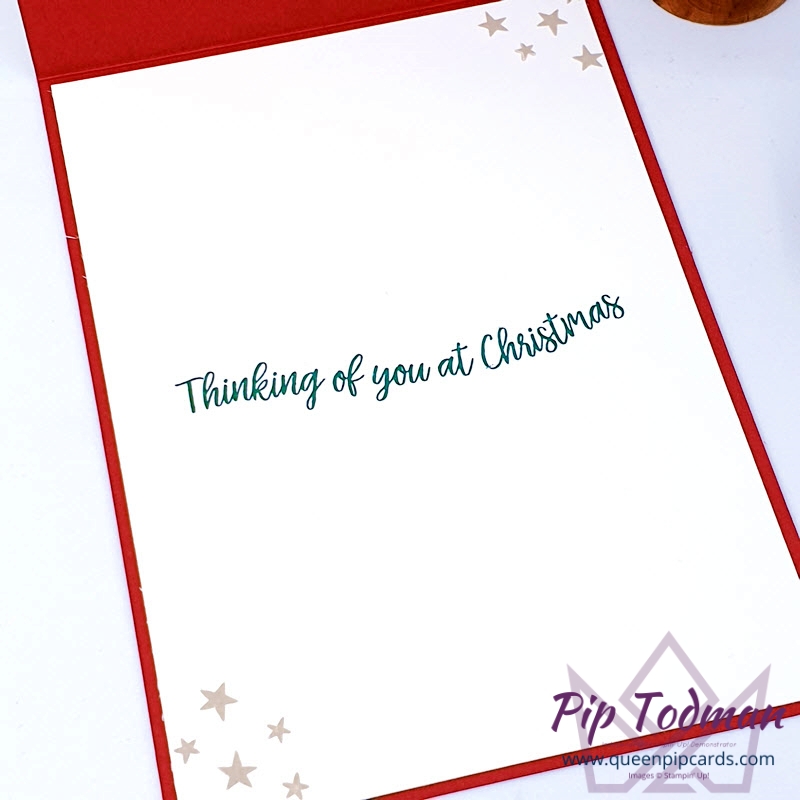
But don’t forget you can carry on that curvy design on the inside with curvy stamps! This one is from the Curvy Christmas Stamp Set
3 Curvy Die Posibilities
This die set is part of the Quite Curvy Bundle but it also coordinates with the Curvy Christmas stamp set. You can see you get a dotty die, a floral die and then the remainder when cut gives you a straight curve too!
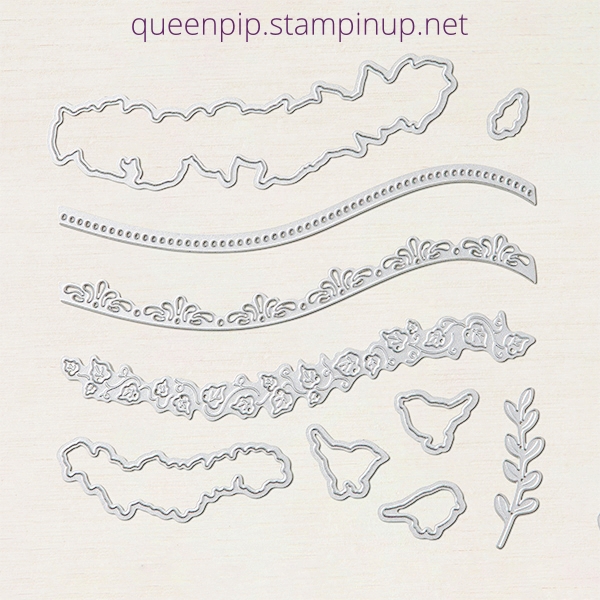
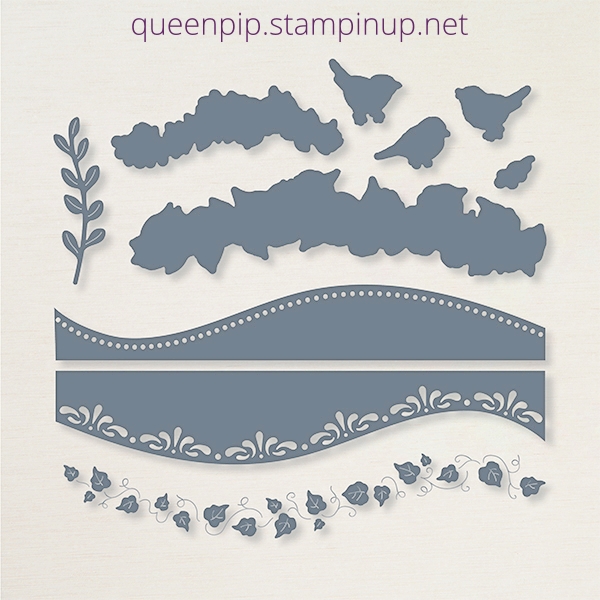
Here’s what they look like when die cut – aren’t they just gorgeous?
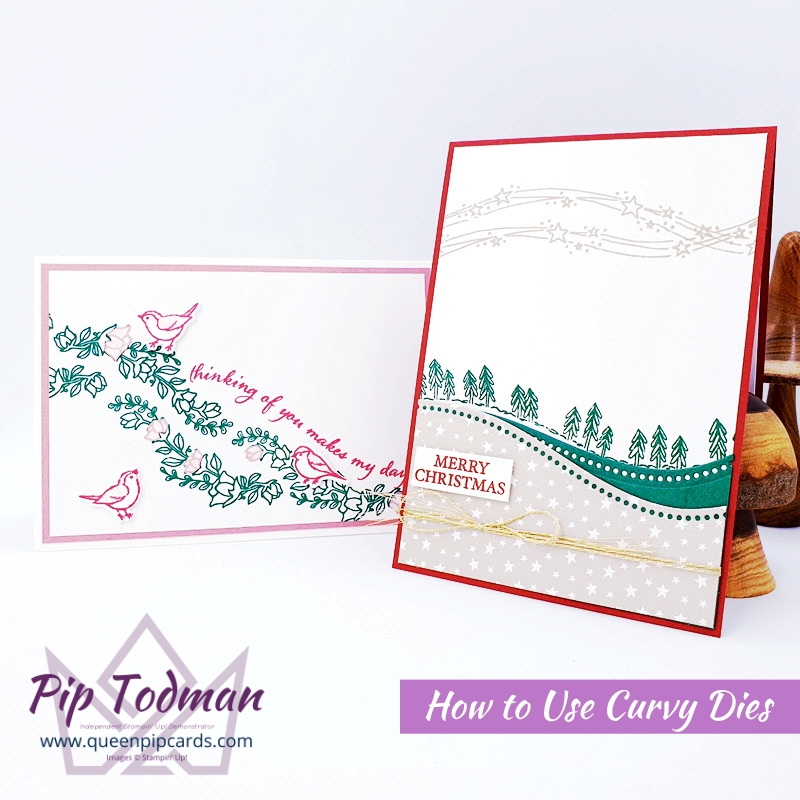
Curvy Dies and the coordinating stamps are so pretty and easy to use. Check out my Spring design too. What is it about curves that YOU like? COMMENT HERE because I would love to know!
Remember the card I mentioned was the inspiration for my card? Here it is! Very different but with some similar elements!
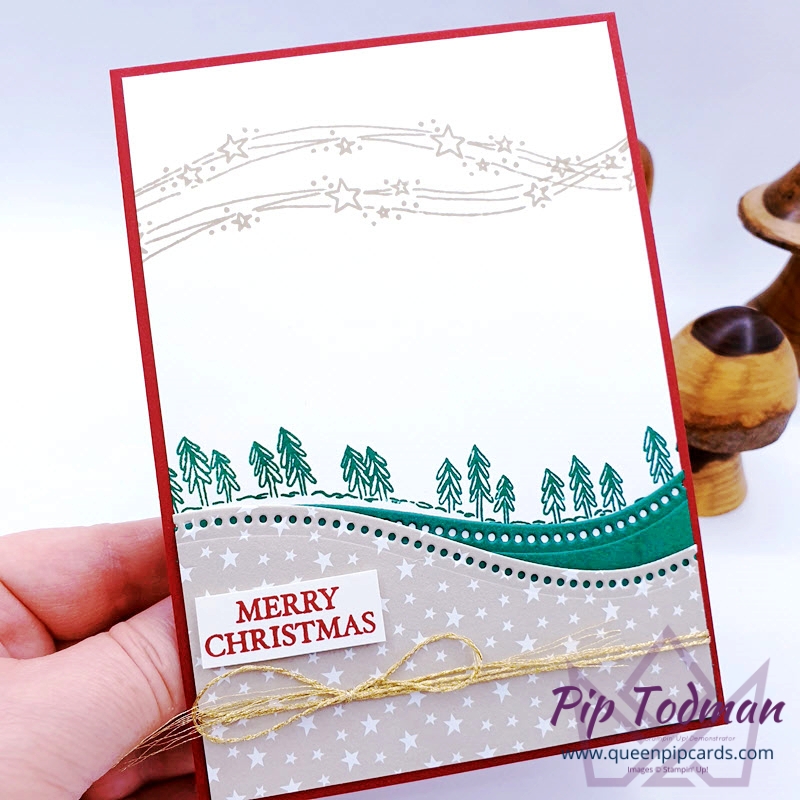
Measurements for My Card
- Cherry Cobbler cardstock A4 cut in half with the short edge at the top of the trimmer cut at 10.5 cm, turn and score at 14.9 cm
- Whisper White layer 14.4 x 10 cm & 2 x 5 cm scrap for label
- Shaded Spruce 10 x 6.5 cm cut with Curvy Die
- Classic Christmas Designer Series Paper 10 x 6.5 cm cut with Curvy Die
- Inks: Shaded Spruce, Sahara Sand, Cherry Cobbler
- Gold Twine (from Forever Greenery Ribbon Combo Pack)
These items are on early release, so you can only purchase 1 of everything, except the paper! Here is a screenshot of what you may see when you order online, don’t worry, this is just telling you about that limit!

Remember the Curvy Dies and the Quite Curvy stamp set are here for a few months, it’s the Christmas stamps that are on limited supplies and while stocks last!
Congratulations on your achievements. I have so enjoyed your blog and I can see you certainly deserve them. Thanks for inspiring us.
Doris D., Yorktown Virginia USA
Ah thank you Doris!!! I’m so glad you’re enjoying it, there will be more content when I can get back to it! I’m very happy you’re here! Hugs, Pip x