I love embossing of all kinds. But the dry embossing technique I’m explaining here today is fun, quick, and easy as long as you have a Stampin’ Cut & Emboss (or similar) machine.

Use the different types of Embossing Folders to create beautiful, textured, tactile layers or focal points. You can use either side, one is called Embossed the reverse is called Debossed.
Open the folder and place the cardstock or paper inside. Close the folder & run it through the die cutting machine. Use the appropriate plates (these are marked on the Base Platform).
Add to your card either with Multipurpose Liquid Glue or a dry glue.
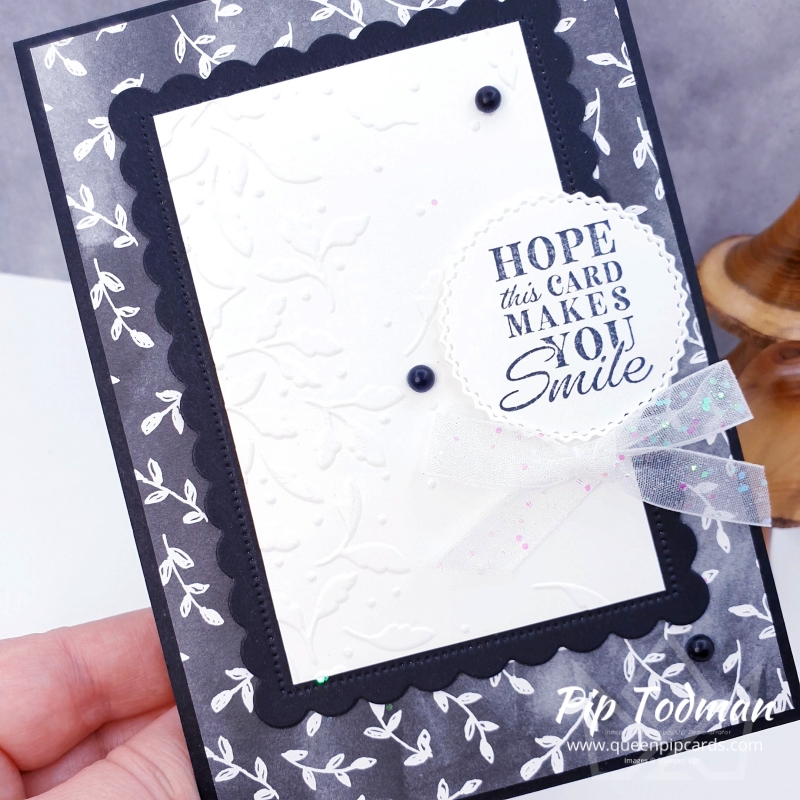
You can add ribbon & a label, and also use different colours or types of paper/card. You can emboss it all with great results! Want to learn more? Click here to join the waiting list for when my membership doors open again. Inside I have masses of tutorials, videos, inspiration & more. For all types of techniques, including dry embossing! Why not join my list today?
So, in conclusion, this quick and easy technique gives you texture, a real wow factor or just another layer on your card. I love it, do you? COMMENT HERE and tell me!
How to make this card
All the supplies are listed below with quick links to my store.
- Use a standard card base 21 x 14.9 cm folded in half at 10.5 cm.
- Cut a paper layer 14.4 x 10 cm
- Die cut a rectangle shape (I use Scallop Contour dies)
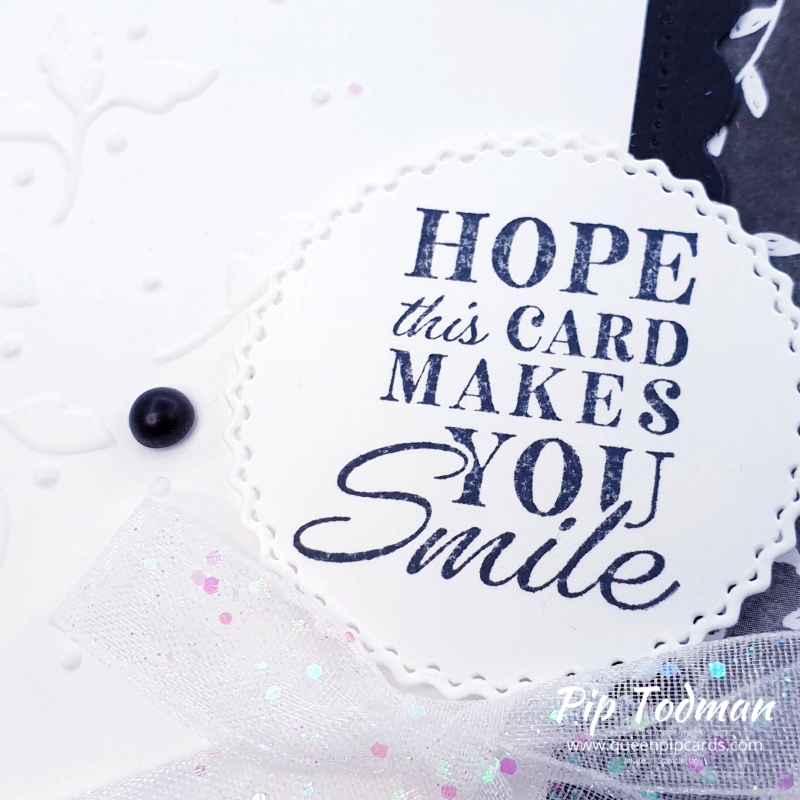
- Cut another piece of card to fit inside the rectangle shape. Dry emboss this piece.
- Wrap the embossed piece with ribbon.
- Add all the layers to the card.
- Finish with a sentiment & some embellishments
Remember, to get the Beautifully Penned papers, your order needs to be over £45. You can pick the papers for FREE as your Sale-a-bration choice until end of September 2021.
Thanks for reading, click here to get on my waiting list for the Card Making Know How membership group!
Crafty hugs, Pip x
0 Comments