One of THE most popular questions in my Card Making Know How Membership from new AND experienced card makers is – how do I get perfect Heat Embossing?
People struggle with a buckled card, patchy embossing, it doesn’t stick, bubbles, powder left on dark card, etc etc. So many issues with what is actually a really simple process. So how come we’ve all struggled? I think it’s because there is so many ways people are shown how to heat emboss, or you’re trying to work it out by yourself.
In my short video, I share my tips on successful Embossing, BUT I have a few more I didn’t add to the video as I wanted to keep it short – so don’t miss those below! These have been collated after years of teaching women (and men) how to get perfect heat embossing every time.
Extra Tips for Perfect Heat Embossing
Good Quality Products
Make sure you have good quality powder & a good quality ink pad. I recommend Stampin’ Up! powders and Versamark Ink (specifically designed for Heat Embossing). Don’t skimp on your powders, they really, really make a difference, as Barbara found out!
Oh my goodness, after years of using another brand of embossing powder, I have just tried Stampin ups ones.
Wow wow wow, what a shine!
Barbara N (Royal Stamper & long term craft teacher)
You can’t beat good quality for giving you perfect results.
Warm Up Your Heat Tool
I also recommend you HEAT UP your heat tool BEFORE you apply it to the card – this means you’re not warming up the card as you’re warming up your heat tool and this stops so much buckling! DO NOT heat from underneath – this means you have to warm up the card before the embossing powder starts to get hot – this also leads to buckling. I only heat underneath to straighten out any curves I get on larger pieces of embossing.
Don’t waft your heat gun either – hold it steady against one area until it’s melted & then move onto the next area.
Powder Residue
Next, if you have powder on your darker cards after you’ve finished your embossing – don’t worry. The WORST thing you can do is rub it in trying to get rid of it! So leave it alone, wait, and if it’s still there the next day use a slightly damp microfibre cloth to wipe it away.
So in summary, good quality powder and ink, heat early, move steadily, and don’t worry about extra chalk dust!
I hope this post has helped you, and if you really want to learn even more about how to use Heat Embossing for that WOW factor, join the Membership! Or if you want to go from a Beginner to a Confident card maker in 4 easy stages; join the Membership!
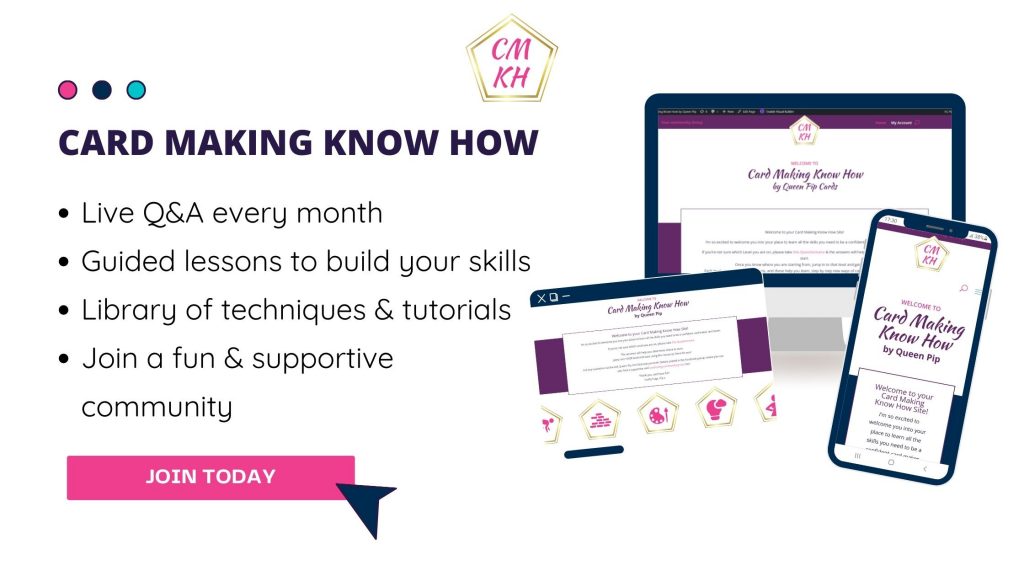
What Membership? The Card Making Know How Membership!
Are you new to card making and need to know more about the card making basics or techniques?
You need my Card Making Know How membership! You can go from Beginner to Confident card maker in 4 easy, proven stages. Courses along the way help track your progress through the types of card, adhesives, tools, stamping, die cutting, embossing, designing, heat embossing, what inks to use, how inks work, colouring, blending, stencils & masks, fun & fancy folds and more! Oh and everything is shown in both A4 metric and Letter Imperial sizing – we cater for everyone!
We also have a fun Community Group on Facebook & we have Q&A sessions every month & Zoom classes & craft along sessions regularly too!
Join us here: www.cardmakingknowhow.com we would love to welcome you no matter where you are in the world!
Thanks for watching my video on replay – see more on my YouTube Channel!
Crafty hugs, Pip x
Subscribe to my weekly treats email HERE.
Learn more about card making at the Card Making Know How academy.
0 Comments